Friday, October 31, 2014

Trick or Treat Night - An easy menu

Yum
Trick or Treaters will be arriving at your door before you know it!
Whether or not you have kiddos going out gathering their loot, you gotta eat dinner.
Sorry, even I can't justify a square meal of candy.
So, here's a fun menu idea you can have sitting out and ready while you or your spouse
 are answering the door.


Let's start with an adult cocktail...

Pun'kin Kahlua
 For the main course, make some cornbread waffles and chili.  They can both be made ahead so that your family can help themselves in between answering the door.
Cornbread Waffles and Chili
 This Autumn Chopped Salad is a perfect accompaniment!
Autumn Chopped Salad 
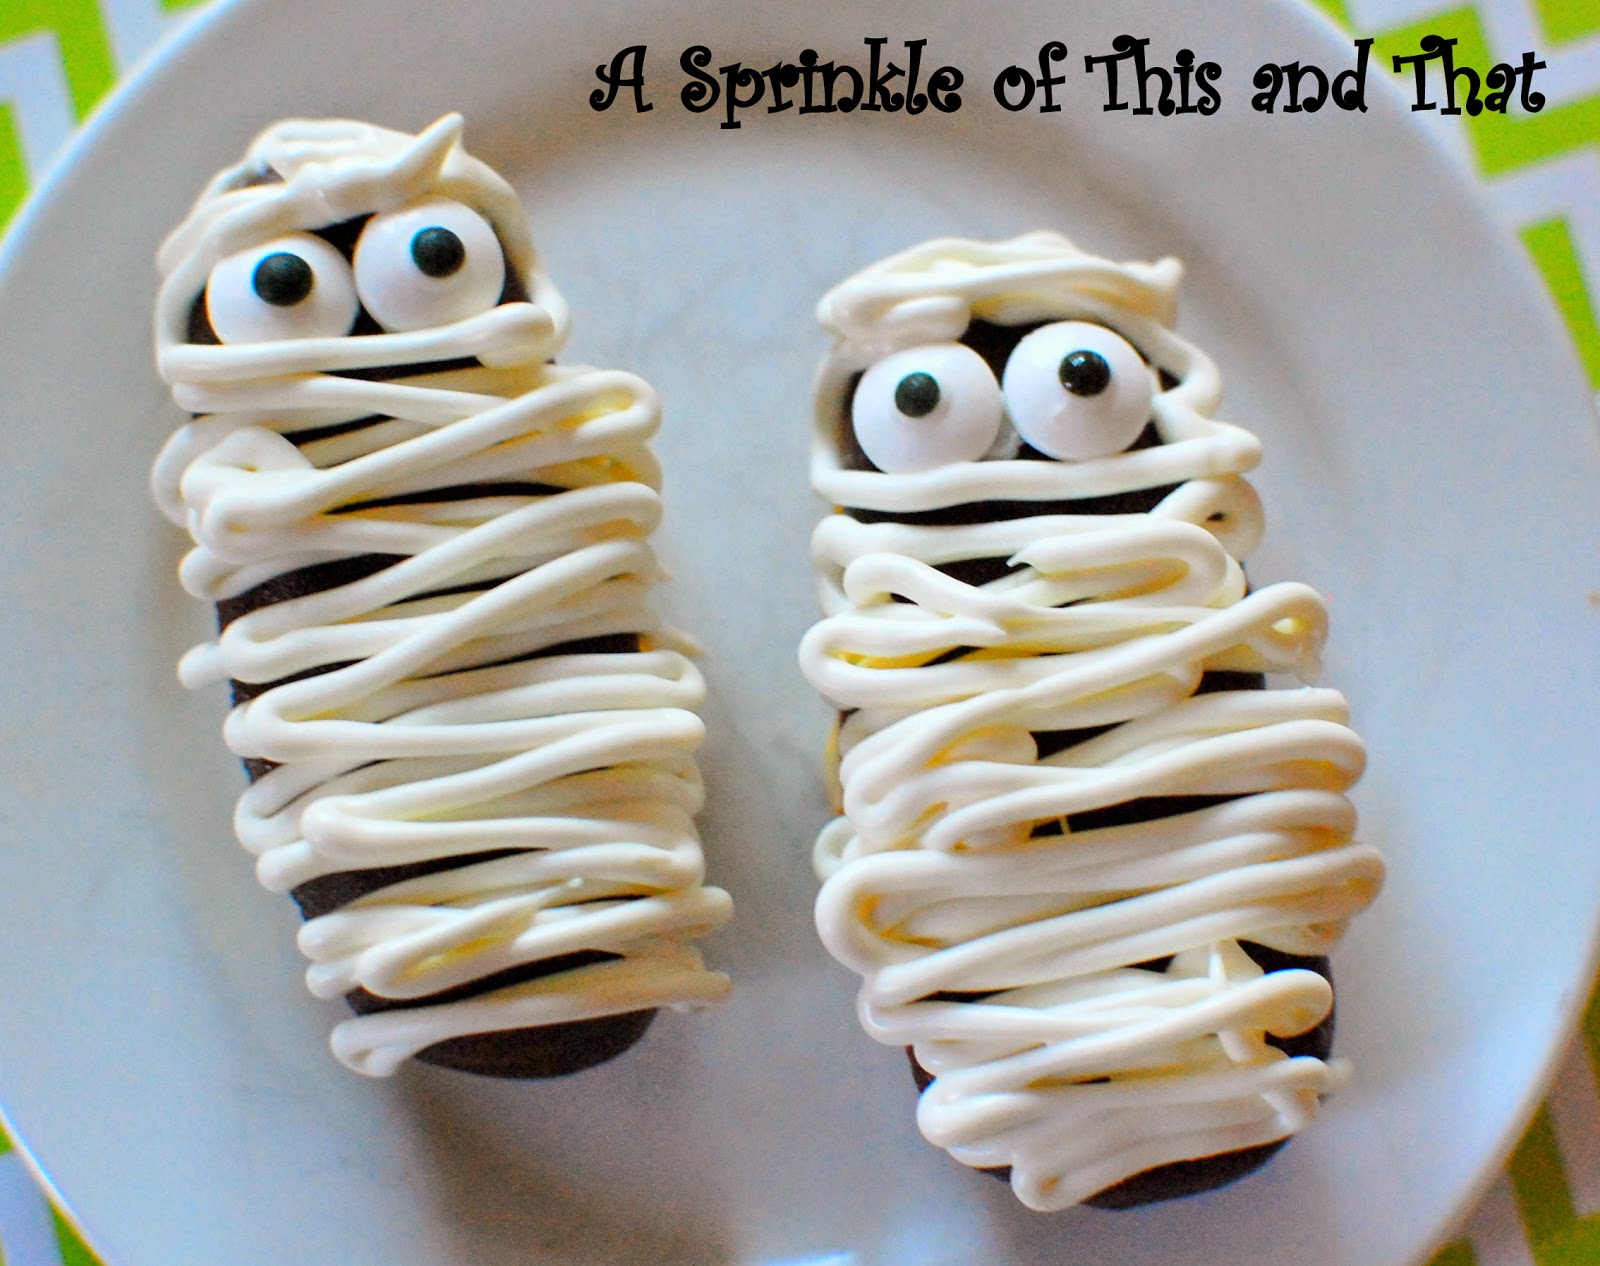
Finally, who can resist these SPOOKTACULAR mummies?
Last Minute Halloween Mummy Treats

I hope you have a fun and safe Halloween!
Don't forget to eat dinner too!  I think this menu will fill those trick or treaters' bellies!

Happy Halloween!
Celebrate the little things that make life sweet,
Christine


Thursday, October 30, 2014

Death by Chocolate Parfaits

Yum
Every year, I am the one to hand out the treats to trick or treaters.
EVERY YEAR!
My husband only relieves me if I need a bathroom break.  :)  Trick or treating, in these parts, seems to start by 4 and last until 8 or 9.  Don't get me wrong, I love Halloween!  But, it is exhausting answering the door, commenting on the costume of choice and handing out treats.  I know, kind of bah hum buggish...
"You're so good at it," claims the hubby.  He thinks flattery will work.  Usually it does, but this year I told him I want a little break from the evening's festivities.  I just want to watch a scary movie and eat candy.  So, I had it all worked out until he saw the candy I was planning on using.  Whoa, he didn't like what he was going to hand out.  He told me I got the lame stuff.  Lollipops?  Tootsie Rolls?  Not lame!  Who's with me?
The hubby said he wouldn't hand out treats unless the selection was better.  Well, no one was going to put the kabash on my plan...no sir!  So I got him THE MOTHERLOAD OF HALLOWEEN TREATS!
Tons and tons of chocolate!  Now he is happy and will carry out his promise.  Phew!
Anyhow, with the quantity of candy I have on hand and the cold rainy/flurry weather expected,
I am concerned about what to do if there is some left.
I could just throw the extra away or take it to work or use it in a recipe...best way I know is using those mini sized treats in
Death By Chocolate Parfaits


This is more of a throw together kind of dessert, but just as effective.
Uses up some of that extra Halloween candy, looks pretty and tastes killer!
Death by Chocolate Parfaits are easy to make.  Start with some pre-made brownies, whip up some chocolate mousse and add pieces of that leftover chocolate candy.


You can use a box mix to make the brownies or purchase some from the bakery aisle.
To make the chocolate mousse, you will need the following:
Ingredients:
1 packet Dream Whip Whipped Topping mix
3/4 cup milk
1/2 tsp vanilla
1 3.4oz instant chocolate pudding
3/4 cup milk
Directions:
Place the Dream Whip packet contents into a large bowl.  Add milk and vanilla.  Whip until soft peaks form, about 6-8 minutes.  Add the chocolate pudding and an additional 3/4 cup milk.  Beat for 2-3 more minutes.  Refrigerate for 2-3 hours before using.

To assemble:
Need:  brownies, chocolate mousse, crushed leftover candy, whipped cream
Place brownies pieces into parfait glasses.  Spoon chocolate mousse on top.  Sprinkle on crushed leftover candy.  Add more brownie pieces followed by additional mousse.  Top with whipped cream.


Isn't this a great way to use up some of the leftover candy in your house?
Seems much more acceptable to eat a decadent dessert than a bunch of candy all alone?  No?

Celebrate the little things that make life sweet,

Wednesday, October 29, 2014

Slow Cooker Tomato Soup

Yum
Slow cookers (aka crock pots) are the most wonderful invention.
Slow cookers are fabulous in the summer because they don't heat up the kitchen.  They are wonderful during the winter because they provide a warm, hearty meal.  
Either season, slow cookers are great since they do the work for you.
After a busy weekeday, dinner can be ready upon your return!  So for today's slow cooker idea, I'm thinking Tomato Soup!  Great for those damp, chilly nights which are coming much more frequently.


Here's what you need to get that soup cookin' for you!

Ingredients:
1 28 oz tomato sauce
1 8 oz crushed tomatoes
1 Tbsp oregano
1 Tbsp basil
2 cups vegetable broth
2 Tbsp butter
1 cup cream
salt and pepper to taste
4 oz Parmesan cheese
Directions:
Place all ingredients into slow cooker.  Cook for 8 hours on low.  Serve with fresh Parmesan cheese.


After a long day, this is just what I need!
Rich and creamy and warm in my belly!
More time to...

Celebrate the little things that make life sweet,
Christine


Featured on
 

Tuesday, October 28, 2014

Creatures of the Night Treats

Yum
This is the week of thrills and chills!
Black cats, spiders and witches oh my!
Creatures of the night conjure up all kinds of images.
But, these creatures won't send a chill down your spine.
They will put a smile on your face.


These mummies and ghouls are so easy to make and so much fun to serve!


So what are these creatures made from....just start with some premade mini eclairs and cream puffs!

You can find them both in your freezer section.  You will need white candy melts, orange candy melts and edible eyes.  Melt the candy discs according to package directions.  You can find candy melts in your local arts and crafts store in the cake decorating aisle.  Once the candy is melted, pour into a container with a narrow tipped top.  Drizzle on top to create the mummy or night creature design.  Attach the edible eyes and candy corn with a bit of the candy melt, acting as a glue.

Cute and bite sized, perfect for your Halloween party!  Don't you just love it when you can take something ordinary and turn it into something extraordinary?


Celebrate the little things that make life sweet,
Christine

Featured on


Monday, October 27, 2014

Apple Cider Roasted Veggies

Yum
I love to grill veggies outside.  We (or should I say the hubby) grills year round!
WINTER doesn't slow him done.  It could be 5 degrees outside and he is more than happy to stoke up the charcoal grill.  I think it is his way of standing up to winter!  So yes, grilled veggies are awesome.  But, recently I tried roasting veggies in the oven.  Where have I been???  These veggies were roasted in apple cider and were so tender, sweet AND kept their color.  An absolutely beautiful side dish!


Seasonal Simplicity!
An easy to make side dish with some of the season's best produce!

Ingredients:
1 red onion, chunked
1 Tbsp minced garlic
2 cups green beans (washed and the ends snapped off)
4 carrots, sliced
2 cups assorted mini peppers
2 cups broccoli
1/2 cup apple cider
2 Tbsp olive oil
1 Tbsp brown sugar
Directions:
Preheat oven to 375 degrees.
Toss together all the vegetables.  Sprinkle the minced garlic over top.
In a small bowl, whisk together apple cider, olive oil and brown sugar.
Pour liquid over the veggies.  Toss to coat.
Bake at 375 degrees for about 40 minutes.  Stir every 10-15 minutes.


Celebrate all the season has to offer,

Sunday, October 26, 2014

Spooktacular Halloween Round Up

Yum
Halloween Week is Here!
Check out these 11 SPOOKTACULAR recipes!
Some with pumpkin and some that just say fall...check them out ya"ll!


Petite Pumpkin Patch Pies

Orange Dreamsicle Pumpkin Cakes

Pumpkin Cinnamon Rolls

Pumpkin Bread French Toast

Perfect Pumpkin Cupcakes

Pumpkin Cake with Chocolate and Cinnamon Chips

Pumpkin Risotto

Pun'kin Kahlua

Pumpkin Soup

Scarecrow Crunch

Candy Corn Bark

Are you getting excited about Halloween?  It's coming!
Make it spooktacular with some of these recipe ideas!

Celebrate the little things that make life sweet,
Christine

Saturday, October 25, 2014

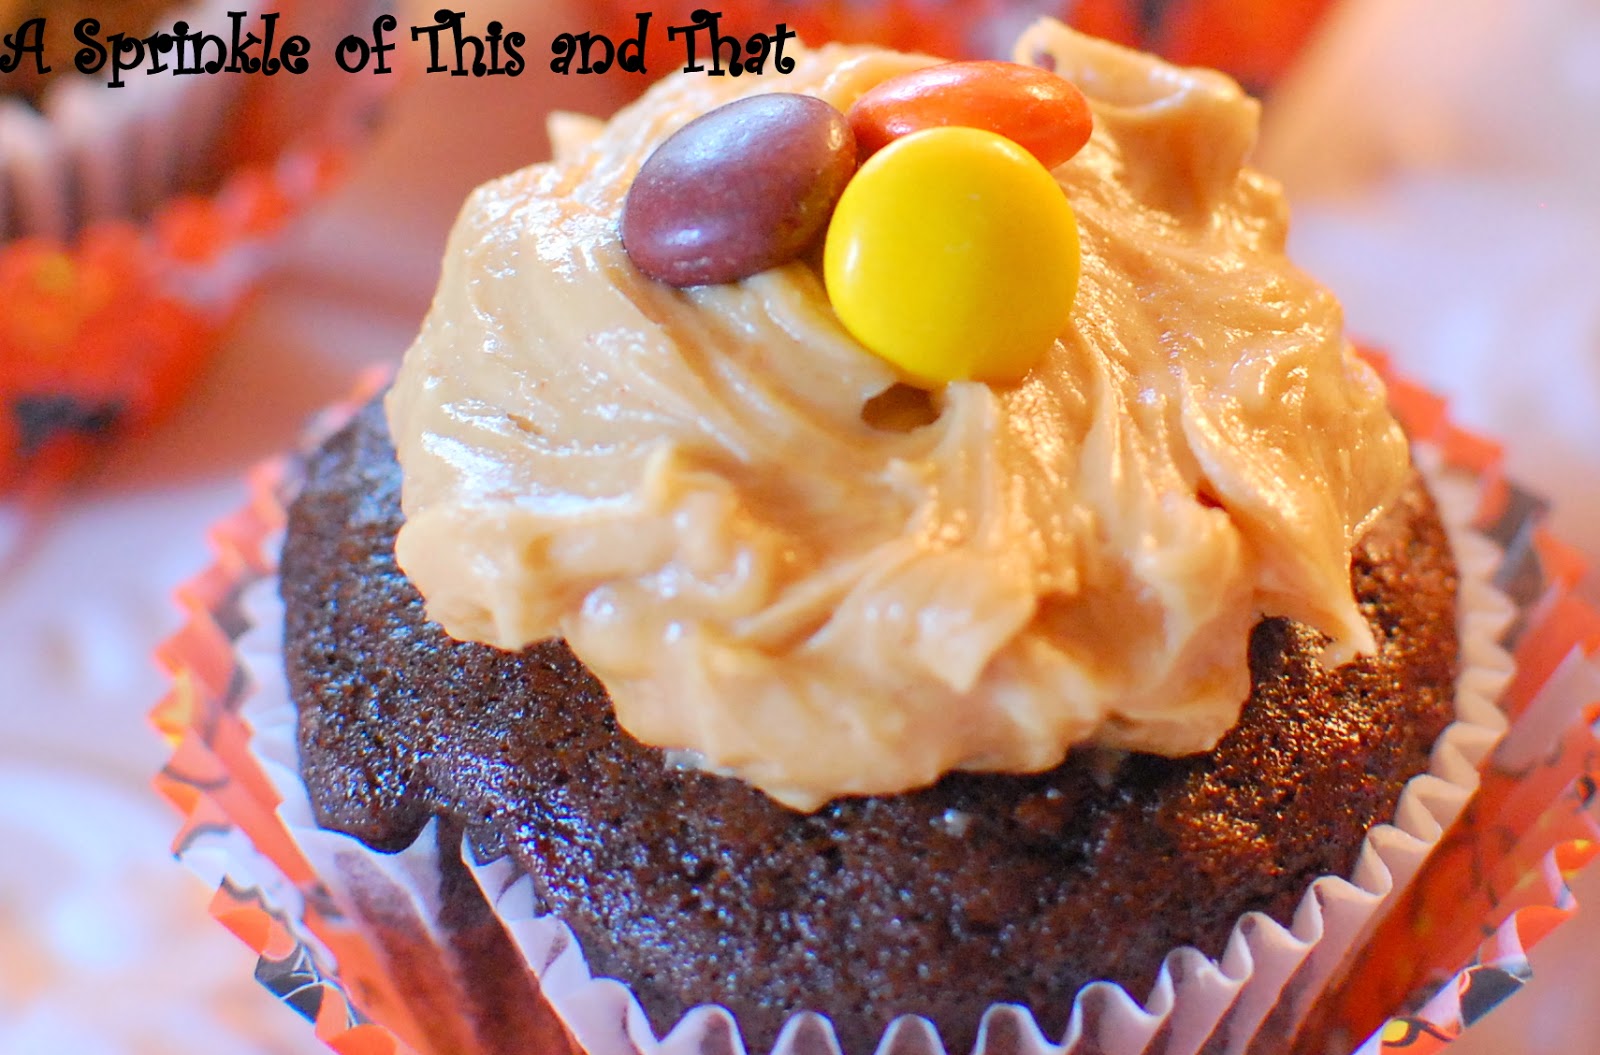
Chocolate Banana Cupcakes with Peanut Butter Frosting and a Ghost Story!

Yum
Ghost stories around a bonfire are such a fun tradition.  There's something about the lighting and the sounds of the fire crackling that lend an eerie atmosphere.  GREAT conditions for a storyteller!
My hubby had a whole year when he was known as Master Scary Storyteller...at least in the eyes of 10 year olds.  The setting was an old sleep away camp.  It was a dark, dark, chilly night.  Old run down cabins surrounded the bonfire area.  I don't even remember the whole story.  All I remember is that during the scary story, my hubby placed his hands over his eyes and put his head in his lap as if he were sobbing with fear.  Suddenly he popped up screaming with yellow EYES!  He had split a yellow ping pong ball in half and "wedged" them into his eye sockets!  Scared the 10 year olds and leaders!  That whole year he was known as the Yellow Eyed Master Scary Storyteller.  Such fun!

But, the best part of hanging around the bonfire is not just the s'mores.  No, No!
Of course you need cupcakes and Chocolate Banana Cupcakes with Peanut Butter Frosting will complete the whole gathering!


It's like eating a Reese's Peanut Butter Cup...chocolate and peanut butter together...forever!


Ingredients to make 1 dozen:
1 cup sugar
1 cup flour
1/2 cup cocoa powder
1/2 tsp baking powder
1/2 tsp baking soda
1 egg
1 banana
1/2 cup milk
1/4 cup vegetable oil
1/2 tsp vanilla
Directions:
Preheat oven to 350 degrees.  Cream together egg, banana, milk, vegetable oil and vanilla.  Add the sugar, flour, cocoa powder, baking powder and baking soda.  Mix until well combined.  Pour into baking cup lined muffin tin and bake for 18-20 minutes at 350 degrees.  Remove from oven and cool.
Ingredients for peanut butter frosting:
1 cup powdered sugar
1 cup crunchy peanut butter
6 Tbsp unsalted butter
1/3 cup cream
3/4 tsp vanilla
Reese's Pieces candies
Directions:
Cream together powdered sugar, peanut butter and unsalted butter.  When well combined, add cream and vanilla.  Frost on cooled cupcakes and add some Reese's Pieces candies.


I love the crunchy peanut butter frosting combined with a moist and delicious cupcake.  Do I really need to say more?  Chocolate and peanut butter are like...Fred and Wilma...a perfect combo!  :)  
Just as perfect as scary stories and a bonfire!

Celebrate the little things that make life sweet,
Christine

Place I like to blog hop.

Friday, October 24, 2014

Veggie Cream Cheese

Yum
Last week I shared a Honey Walnut Cream Cheese recipe.
This week, I want to show you just how easy it is to make your very own veggie cream cheese.
Your bagels and your tastebuds will thank me.


This Veggie Cream Cheese is reasonably priced to make and you can customize the veggies you add.
I made the Veggie Cream Cheese at the beginning of the week so that it lasted throughout the remainder of the week.  Breakfast has never been better.


Veggie Cream Cheese has such a yummy flavor and can be used on bagels, crackers or even a sandwich.
Get ready!  'Cuz this is a quick one!

Ingredients:
2 8oz reduced fat cream cheese
2 green onions, chopped
2 Tbsp red pepper, chopped
1/2 tsp minced garlic
1 Tbsp red onion, chopped
Directions:
Once all the veggies have been chopped.  Whip the cream cheese and then add your chopped veggies.  Serve.
Veggie Cream Cheese Printable Recipe


Told you it was easy!  You will never want to buy a tub of flavored cream cheese again!

Celebrate the little things that make life sweet,
Christine

Places I like to blog hop.